Shabby Blogs

Sunday 30 November 2014

Birthday Wizard

Yesterday Jen's youngest grandson, Bailey, had his official birthday party, following on from the Nanny birthday party last weekend.  He will 6 on Monday so his Mum organised a big celebration for him with lots of family and friends, along with the odd Ninja Turtle or four lol!  Bailey is mad about the turtles at the moment.

No turtles on my card today but this is one of the cards I made for him.  The image is Wizard (without glasses) by Tiddly Inks, available here from their website.  I coloured him with Copic Markers.


The Marianne Design set contains an embossing folder and die.  We bought ours from here.


I used the embossing folder on the mat behind the wizard and some papers from the stash.  I think it's nice and cheerful for a young boy's card.


Enjoy the rest of your weekend.  TTFN Jude xx


Saturday 29 November 2014

Happy Lawn Fawn Christmas

Good morning folks, yay it's the weekend at last, hope you have some nice crafty plans. 


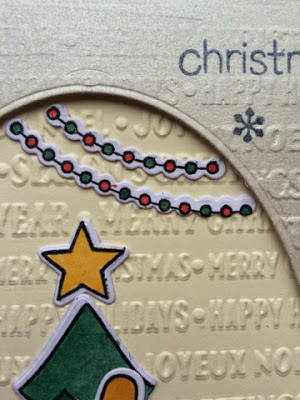
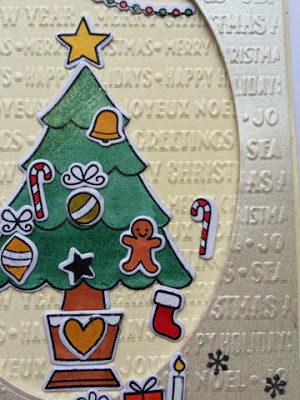
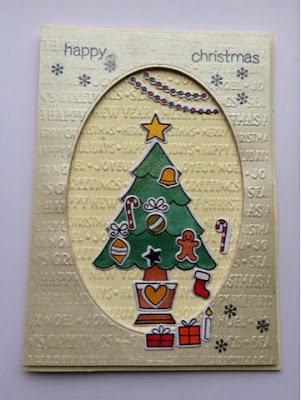
While Jude and I were at the Ross Papercraft Show a couple of weeks ago, we picked up our first set of Lawn Fawn dies and stamps. So I decided to give them a trial run on this card. 


I must admit I love how the stamps stamp lol and the dies cut perfectly. 


I used a Bebunny embossing folder from Crafters Companion for the background and cut a large oval from the centre of Centura Pearl cream card. 


Then I went to town with the die cuts lol. I coloured the pieces with either Copics or my new Wink of Stella pens (love, love, love them) which Jude very kindly bought for me. 


As the card is so fussy, I just used a simple stamped sentiment at the top and then stamped a few snowflakes to finish it off. 


But I didn't notice until I was loading the photo's that I had smudged one of the snowflakes before it was dry (boohoo). 


Anyway hopefully it will still get used. Take care and I'll see you again on Monday.

xxx

Friday 28 November 2014

Hunkydory Christmas

In our stash Jen and I have quite a few kits, bought over the years and rarely used.  One of these is the Christmas Cuties range from Hunkydory.  The set will make about 8 cards but I started off with just three.
You will have to excuse the photos.  I couldn't get a shot without glare from the silver card!!

Three very simple cards completed in one evening.


That's all for today.  TTFN Jude xx


Thursday 27 November 2014

Gold Embossing

Good morning all and welcome to another Thursday. There aren't that many of them left now before Christmas so I am cracking on with the Christmas Cards. 


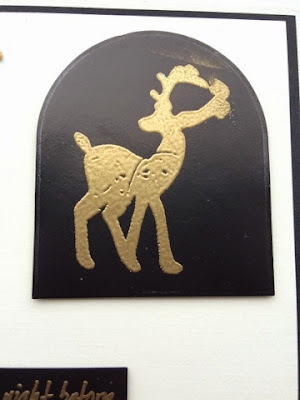
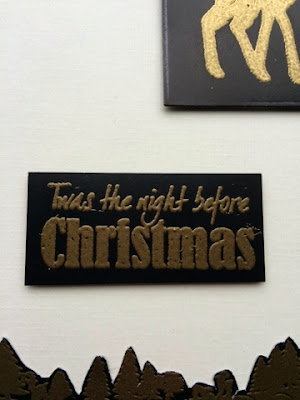
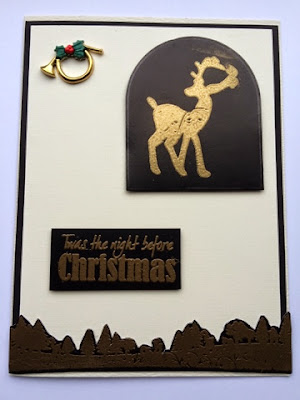
This one is all about the embossing. I decided to go for a gold, cream and black colour scheme, so used gold embossing powder on to black card. It does work really well. Although I'm not the best at it so it can be a bit messy lol.


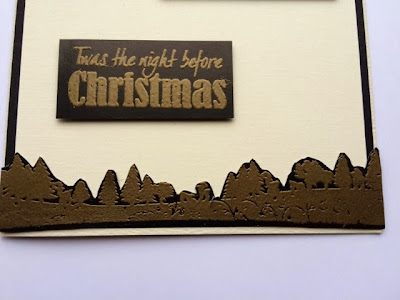
The stamps are a mixture from the stash. The sentiment is Crafters Companion and the deer is Hunkydory. 


The tree border is also from the same Hunkydory set. 


I spent ages looking for something to go in the top corner to finish the card off and eventually came across this little gold horn that Jude has had for ever!


And that was it all finished, hope you like it.


Take care and I'll see you soon.

xxx

Wednesday 26 November 2014

Grad Boy

Today I have another of Daniel's Graduation cards to share (it makes a change from Christmas cards!)


This is Grad Boy, another Saturated Canary image, and one that will be retired from the shop at the end of November.  If you want him grab him now - https://saturated-canary.myshopify.com/products/grad-boy-2013


I used paper from Digi Stamp Boutique with card from the stash.  The sentiment is made up with Docrafts letters from the Madame Payraud range.


Hope you like it.

TTFN Jude xx


Tuesday 25 November 2014

Winter scene

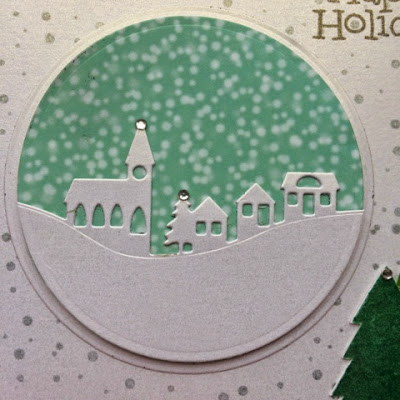
Good morning friends, hope you are well today. I decided to use the winter village scene on a card again today. 


I used a Spellbinders circle for the die cuts on Centura pearl card and the Marianne Designs winter village scene die.


 But this time I used a wintry background courtesy of some Simon Says Stamp paper and a snow stamp. The background I did by repeatedly stamping the snowfall stamp with Memento London Fog ink, again using Centura Pearl card. 


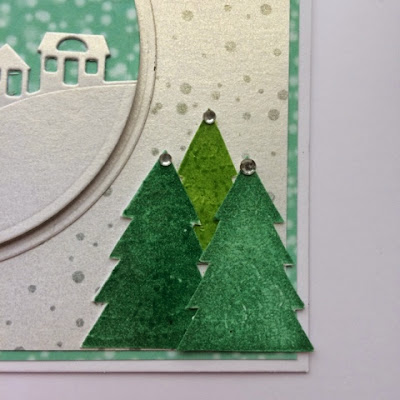
I also used the tree stamps from the latest Simon Says Stamp kit, I stamped them with green pigment ink and then heat embossed with clear embossing powder. Then I cut them out by hand. 


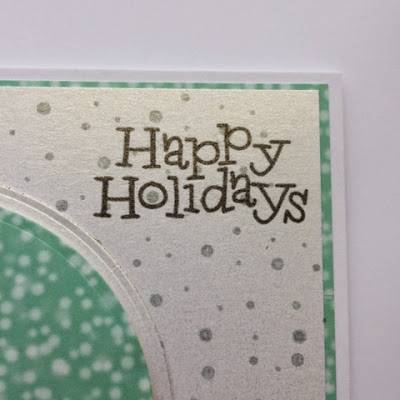
The Happy Holidays stamp is also from the November Simon Says Stamp kit and I finished the card off with a few tiny gems.


Hope you like it, take care and I'll see you soon.

xxx

Monday 24 November 2014

Little Nikki

Hello again.  Today I want to share three Christmas cards made with the lovely Nikki from Saturated Canary.


I chose different colours for each version but stuck to the same sort of layout.


The Christmas Tree is a Sizzix sizzlit, and makes a perfect accent piece, especially with a touch of Wink of Stellar clear on the star and baubles.


These are quite small cards (15cm x 10cm) meaning Nikki had to be just 8cm tall and 4cm wide.  This made colouring her a challenge but I don't think I did too badly.

That's all from me today.  See you soon.

TTFN Jude xx

Sunday 23 November 2014

Home to nest

Good morning all, hope you are having a good weekend. We have visitors this weekend, so we had a little birthday party for our grandson Bailey last night, as he will be six, the week after next. But as they don't live locally we have to do things when we can all get together lol. So we have one very happy little boy as he had a 'nanny birthday' before his 'real' birthday lol.

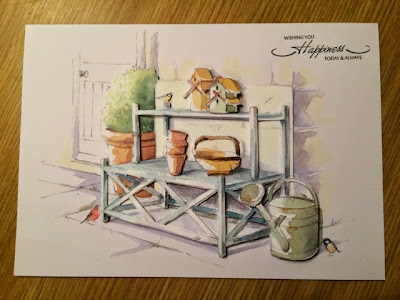
Anyway today's card is made using a decoupage kit. I haven't done this for ages so it made a change to do some gluing and piecing. 


The kit is an A4 card kit from the Home to Nest range. I used the main image on the A4 card, but also managed to make another couple of cards out of it. 


I used a mixture of silicone glue and sticky foam pads to raise the layers, depending on the size of the surface.


Then I used a Creative Expressions stamp to stamp the sentiment in the top corner. 


I tried to take a side on view so you can see how many layers there are but it hasn't shown them very well lol. 


The card went to our uncle for his 71st birthday on Friday, and mum said he really liked it. 


Hope you do too. Take care and I'll see you soon.

xxx

Saturday 22 November 2014

Graduation

Hurrah for Saturday!

As Jen told you, yesterday was her son Daniel's Graduation Ceremony at Sheffield Hallam University.  We are all very proud of him for the hard work he put in to earning his degree.

This is one of the cards I made for him.


The set is from Digi Stamp Boutique, including the backing paper.
All I had to do was decide on a layout.


I chose two of the images and fussy cut them before layering everything with black card.


I kept it very simple as Daniel isn't the fussy type.


Hope you like it.


TTFN Jude xx


Friday 21 November 2014

Graduation Day

Good morning all, yes today is my son D's graduation. I may have mentioned that back in the summer he passed his final exams and got a 1st Class Honours Degree in Engineering. 

As you can imagine we are incredibly proud of him and what he has achieved. Especially since he has done this while working full time. From the day he left school he was determined that this is what he would do and although it's taken 7 years and an awful lot of hard work, he has done it. So today I get to dress up a bit and go and beam with pride while he receives his certificate. If he will let me I will post a pic of him in cap and gown soon lol. 

Anyway after all that waffling, today's cards are some I made for D, for today. 


I love this little Owl from Digi Stamp Boutique, he looks a bit frazzled lol. 


I coloured him with Copics and cut him out with a circle die. 


The papers are from Simon Says Stamp and the Stamp is a Clear Choice stamp that we've had for ages. 


This next card is very simple. 


I used a little stamp set that came free with a magazine last year. 


I just liked the sentiment that came with it, as this one is from Mum and she is very proud of him. 


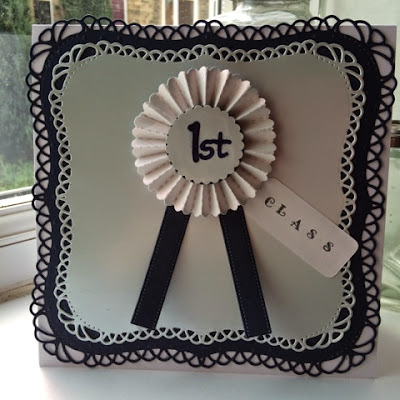
The next one is all about the die's. I used Spellbinders Grand Decorative Labels One for the background. 


Then I used the Sizzix/Tim Holtz Rosette die for the centre. 


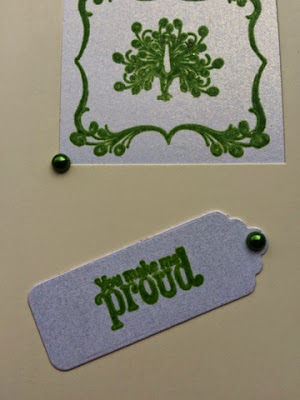
I used a number die to add the 1st to the centre and then added a small tag with class stamped on to it. 


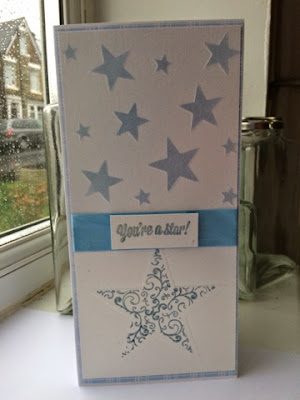
And finally, this card is made using another free set that came with a magazine. 


This time it's a star embossing stencil, which I used on Centura Pearl card and then inked through the stencil with Faded Jeans Distress Ink. 


I added Blue ribbon across the centre and then stamped the sentiment with the Distress Ink and heat set it with clear embossing powder. 


I used the coordinating stamp to stamp over the large star, and then added Congratulations to the inside sheet. 


Hope you like it, thanks for dropping by again, take care and I'll see you soon.

xxx
Two Crafty Sisters, Two Crafty Styles, One Crafty Blog!