Shabby Blogs

Saturday 31 May 2014

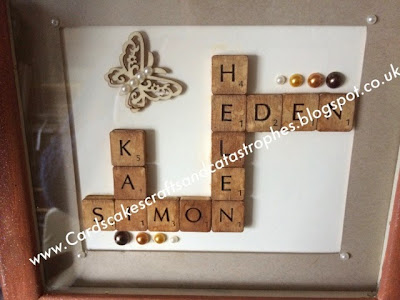
Altered frame

Good morning. I thought we would have a little break from the birthday cards this morning. So I can show you another of my little frames. 

This one is for a friend of my daughters. She wanted a neutral finish so I kept to a brown and cream palette.


I altered the scrabble tiles in the same way as before, with sandpaper and distress ink. Then i found a frame the right size for the words. Trouble was the frame was shiny green!


So I set about altering that too. I gave it a good sand over and then applied two layers of cream acrylic paint. Once that was dry I gave it two coats of Vintage Photo Distress Paint. After that had dried I took it outside and gave it a good spray with Iridescent spray glitter.


I added some pearls and a butterfly to finish it off. Now just got to hope that Helen likes it. Hope you do too.

See you soon, take care.

xxx
Friday 30 May 2014

Isabelle and Denise

Happy Friday! Almost the weekend again and the start of another new month!

I have the second of Isabelle's birthday cards to show you today.


This is the card I made for my brother, John, to send and uses the Denise image from Saturated Canary.  I coloured this as one of my practice pieces last week.


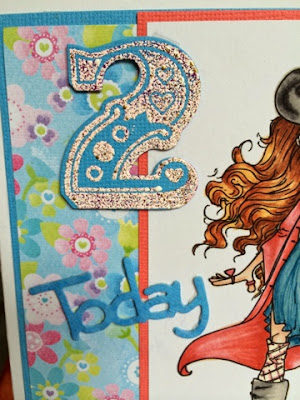
I bought a new numbers stamp and matching die set from The Range a few weeks ago and finally got to use them.  I stamped the 2 then embossed with pink/gold frontage, before cutting with the corresponding die.
The 'Today' is from another set and is two layers decoupaged together for depth.


The paper is from Lili of the Valley, Bonnets and Bowties paper pad.

Well that's all for today.  TTFN Jude xx


Thursday 29 May 2014

Ballerina girl

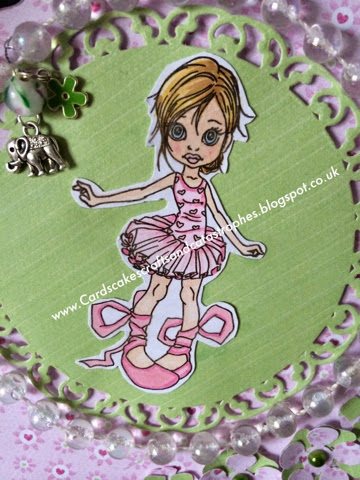
Good morning everyone. Hope you are well. Yesterday was my youngest granddaughters 2nd birthday and today's post is the card I made for her. 


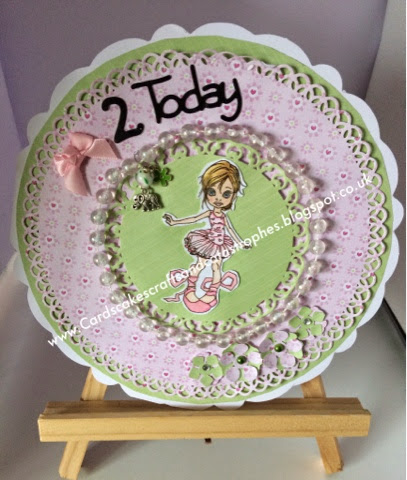
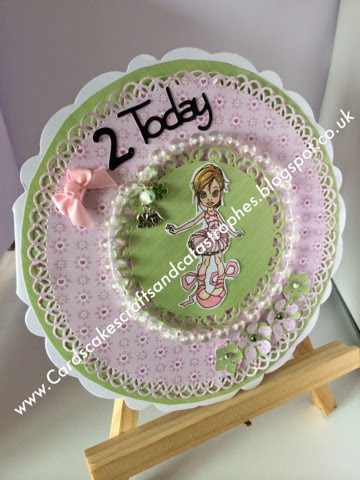
I decided to do a round card for a change, just for something different.


The image is I Heart You by Saturated Canary. This one came on a cardmaking CD a few months ago. Isn't she cute? I coloured her with Spectrum Noirs and cut her out by hand.


I used papers from the Lili of the Valley Bonnets and Bowties 8x8 pad. I used Spellbinders Grand Stately Circles to cut the large fancy circle and then used the inside edge of the larger die to draw around to make a mat for it.


Then I used the standard stately circles for the centre circle.
I added some string beads around the edge and glued them on with Cosmic Shimmer.

The I die cut the sentiment and used Tonic Punches to make the little flowers. Then I finished the card off with a small bow and a couple of charms.


I think it turned out very pretty, just like Izzy Lou. Hope you like it.

See you soon, take care.

xxx
Wednesday 28 May 2014

Isabelle and Ellie

Happy Wednesday AND Happy 2nd birthday Isabelle Louisa!  

This is her indulging in a little retail therapy lol.


We had cake, cards and presents with her last night as we won't see her until later this evening.

So on to today's card.
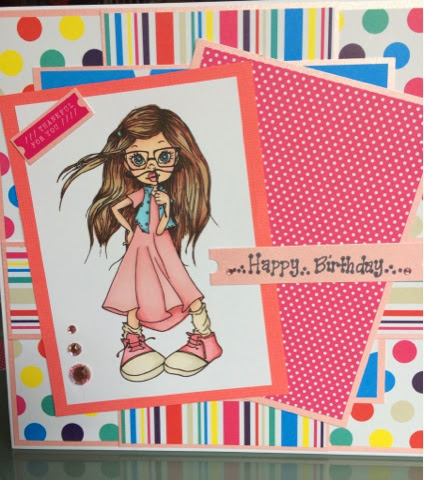
Last week I coloured Ellie Awesome Sauce, one of my new Saturated Canary digis, and now I've made her into a card for Izzy.


I thought she should be quite bold so I've chosen Docraft's Spots and Stripes in Brights for the backing papers.


This little sticker is part of the Dear Lizzy set I bought last year.


I copied the shape for the sentiment banner.


So there she is.  What do you think?


TTFN Jude xx

Tuesday 27 May 2014

Altered note book

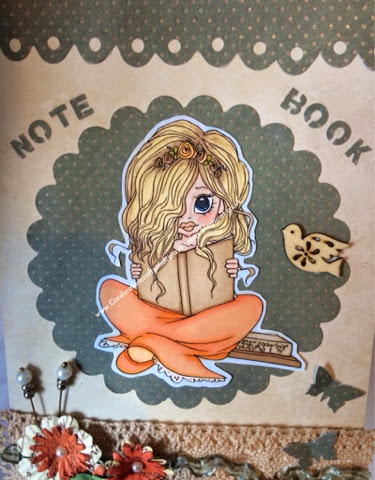
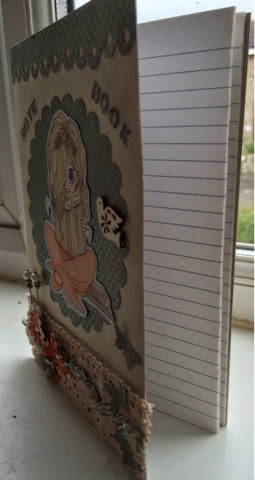
Good morning all. Well back to work today for some of us after a long weekend off. Did you manage to get crafty? I managed to get this little note book done for a friend at work. She had seen the one I made a few weeks ago and wanted something similar.


I used a plain A5 exercise book and covered it with Neenah Desert Storm Card. 


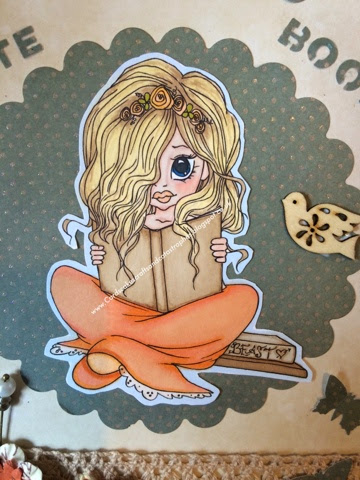
The image is Reading Beauty from Saturated Canary. She is coloured with Promarkers and I cut her out by hand.


I used an odd piece of green card from the stash and a couple of Sizzix dies to cut the top banner and the scalloped circle. Then I punched the words with my little alphabet punches.


I used a strip of dark cream lace across the bottom and then a piece of green crumpled ribbon to sit on top. I used some ready made flowers and stamped them over the top with Cocoa Memento ink and a script stamp.


I added the flowers using silicone glue and made a couple of little pearl pins to sit behind them. Then I added flat back pearls to the centre of the flowers.


I finished the card with 3 little punched butterflies and a wooden bird.


Hope you like it.
See you soon, take care.
xxx


Monday 26 May 2014

Mojo Monday 346

Happy Monday peeps.  It's another Bank Holiday here in the UK, and I have the whole week off work!! Yippee!!

This week Jen's youngest grandaughter, Isabelle, will be 2 and we have been busy making birthday cards.  Unfortunately we can't share them until later in the week, so I had to make something quick and easy to share with you today.

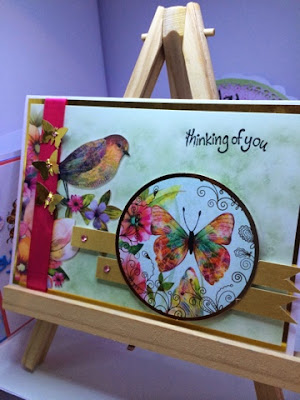
Hurrah for Hunkydory!  They usually come to my rescue in situations like this lol.  I also turned to the sketch on Mojo Monday (http://mojomonday.blogspot.co.uk/2014/05/mojo-monday-346.html)

Here's the sketch....


....and here is my version.  What do you think?


The butterfly topper and paper are from a set called Garden Paradise 'Butterfly Delight'.


I think the bird card is adorable, don't you?


So that's my finished entry.  Just need to post it on the Mojo Monday blog now.


TTFN Jude xx

Sunday 25 May 2014

Princess Honor

Good morning all hope you are well. Some of us are enjoying a long weekend and it's great not having to go back to work tomorrow. 

It's been a tough weekend too though. It was dads birthday yesterday and the first without him. So we all went to the cemetery and left him some flowers and cards. He would have been laughing his socks off at us all stood in the pouring rain lol. 

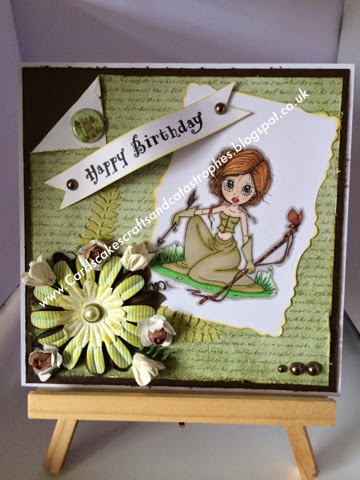
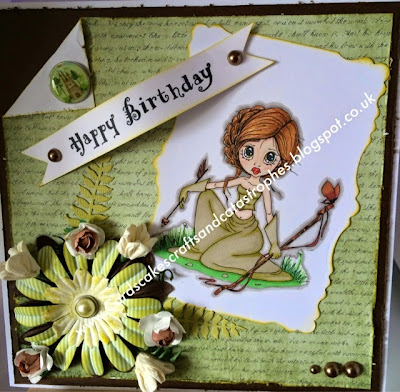
But on to today's card. This one is called Princess Honor. She is another of our new saturated canary digis. 


I coloured her with Promarkers and cut her out with Spellbinders Labels 29. The I inked the edges with Crushed Olive Distress Ink.


The paper is from an old Papermania pack I think, and I matted it on to some dark brown card. I roughed up all of the edges to give it a bit of a distressed look. Then turned back one corner and held it down with a little princess castle brad.


I added some flowers and leaves to the bottom and inked them with the same Distress Ink as before.


Then I made a banner from white card and stamped Happy Birthday on it with Jet Black Archival. I stuck this to the card with two small round foam pads and then added the pearls over the top.


I finished the card with three more pearls in the bottom corner. Hope you like it, see you soon.

Take care.

xxx

Saturday 24 May 2014

H is for Harriet.............

................and Helen.  
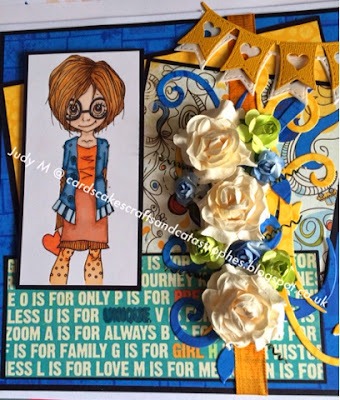
Morning all today I am sharing a card I've made for my good friend Helen.  She will be celebrating her birthday on Sunday.  I've made her a nice bright and cheerful card to match her bright and cheerful personality.


Yes it is another Saturated Canary image and you must be getting seriously fed up of them by now, but I love them.


There is such personality in these images and the colours you use can make quite a difference.  I like blue and orange together.  I know it's not a popular mix but it seems to work for this style of card.


The papers are from my stash and are a mix of Jillibean Soup and Bo Bunny.


I've just got to make a box envelope now for it to fit in.  Good job I'm not posting it lol.

TTFN Jude xx

Friday 23 May 2014

Altered words.

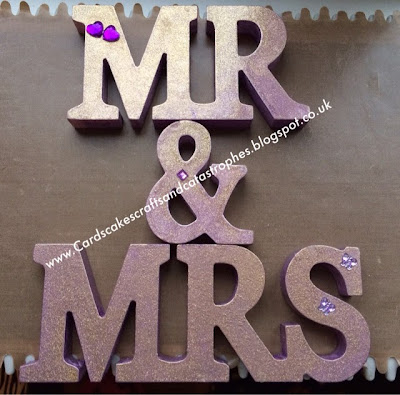
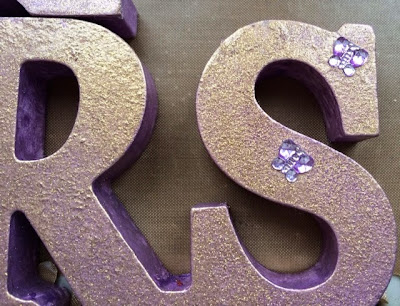
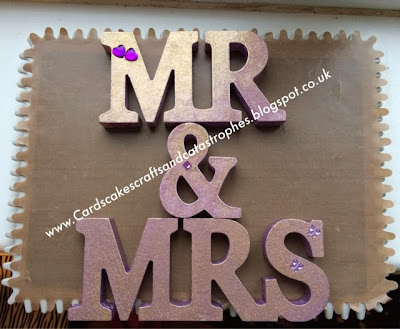
Good morning all. Hope all is well with you. These words were plain white ones that my daughter and son in law had for their wedding a couple of years ago. 

She wanted them jazzing up a bit, so gave them to me just saying "do something with them!" Lol. Did she know what she was saying? hahaha.......

But I'm not that naughty so I did my best to alter them to something that would appeal to them both. Nothing too girly but nothing too plain. 


I have been playing with acrylic paint and Pebeo paints. These give a lovely glimmer to the surface but to cover all of the letters would have taken a lot of paint, so I used the acrylic paint to give them a base cover first. 


I did start by decoupaging the & sign but I didn't like the finished result, so I took it all off again lol. That's the beauty of a lot of crafts. If you don't like it you can start again :o))


Once I had the purple layer I wasn't sure what to do with them so they have sat in the craft room for quite some time waiting to be finished.


Then the other day I was looking for something and came across the glitter sprays that we've had for ages and thought the gold one would look good on those letters!


So they had a good spray of gold sparkle front and back and after that they didn't need much else. So the little hearts and butterflies just finished them off.


Hope K likes them now after all this time!


Thanks for stopping by today, hope to see you soon.

Take care

xxx


Two Crafty Sisters, Two Crafty Styles, One Crafty Blog!